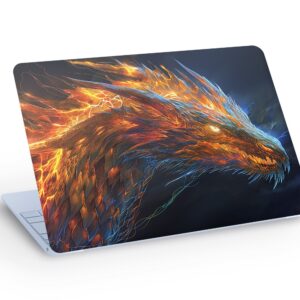
Why Heat Application Works for Vinyl Decals
Heat application is one of the most effective methods for ensuring vinyl decals adhere properly to various surfaces. When you apply heat to vinyl decals, the adhesive becomes more pliable and creates a stronger bond with your chosen surface. This technique is especially useful for curved surfaces, textured materials, and items that experience frequent movement or temperature changes.
Whether you’re decorating a water bottle, a laptop, or even a vehicle, understanding heat application can significantly improve your results and extend the lifespan of your decals.
Essential Tools You’ll Need
Before you begin the heat application process, gather these essential tools:
- Heat gun or hair dryer – A heat gun provides more concentrated heat, while a hair dryer works for smaller decals
- Thermometer – Optional but helpful for monitoring temperature
- Application fluid or squeegee – For smoothing out air bubbles
- Protective gloves – To protect your hands from heat
- Clean, lint-free cloth – For wiping surfaces before application
Preparing Your Surface
Surface preparation is crucial for successful vinyl decal application. Start by cleaning your surface thoroughly with soap and water, then dry it completely. For textured surfaces, wipe with rubbing alcohol to remove any oils or residue that might prevent proper adhesion.
Allow the surface to reach room temperature before applying your decal. If you’re working with a curved surface like a water bottle or laptop, you may want to practice your positioning first to ensure perfect placement.
Step-by-Step Heat Application Process
Step 1: Position Your Decal
Carefully place your vinyl decal on the desired surface. Take time to align it properly—this is much easier to do before applying heat. You can use a ruler or measuring tape to ensure symmetrical placement.
Step 2: Start with Gentle Heat
Begin by applying heat from your heat gun or hair dryer at a low to medium setting, keeping it approximately 6-8 inches away from the decal. Move the heat source in gentle, circular motions across the entire decal. This initial application helps the adhesive begin to activate without creating hot spots.
Step 3: Apply Progressive Heat
Gradually increase the heat intensity while continuing to move the heat source. The vinyl should begin to conform to the surface contours. For curved items like a water bottle, this step is particularly important as the heat helps the decal wrap smoothly around the shape.
Step 4: Smooth Out Air Bubbles
As you apply heat, use a squeegee or soft cloth to gently smooth out any air bubbles from the center of the decal outward. Work carefully to avoid stretching the vinyl or damaging the design.
Step 5: Cool and Cure
Once you’ve applied adequate heat (typically 30-60 seconds depending on decal size), allow the surface to cool completely. This curing time is essential for the adhesive to set properly. Avoid touching or moving the item for at least 24 hours after application.
Temperature Guidelines
Different surfaces require different temperature ranges. Here’s a quick reference guide:
- Laptops and electronics: 200-250°F (use lower temperatures to avoid damage)
- Water bottles and plastic: 250-300°F
- Glass surfaces: 300-350°F
- Ceramic mugs: 300-400°F
Always start with lower temperatures and increase gradually. When in doubt, less heat is better than too much.
Pro Tips for Perfect Results
Keep these expert tips in mind for professional-quality results:
- Never apply heat directly from a heat gun on the highest setting—this can damage vinyl and create wrinkles
- Use a hair dryer for delicate items like laptop skins to maintain better temperature control
- Work in a dust-free environment to prevent particles from getting trapped under your decal
- If bubbles appear after cooling, carefully heat the area again and smooth it out
- For best results, apply decals in warm weather or a heated room (around 70°F or higher)
Special Considerations for Different Products
When working with laptop skins like our Blue Hi Tec design, use moderate heat to protect your device’s surface. Laptop decals benefit from gentle, even heat application across the entire surface.
For adventure lovers, applying heat to our Forest Caravan Camping Compass Vinyl Decal on vehicles requires more intensive heat to ensure durability against weather and road conditions.
Aftercare and Maintenance
Once your decal is applied and cured, proper maintenance extends its lifespan:
- Avoid washing or exposing to water for at least 48 hours after application
- Clean gently with a soft cloth and mild soap when needed
- Avoid harsh chemicals or abrasive materials
- Keep decaled items out of direct sunlight when possible to prevent fading
Common Heat Application Mistakes to Avoid
Don’t make these costly errors when applying vinyl decals with heat:
- Applying too much heat too quickly—this causes the vinyl to shrink or wrinkle
- Not cleaning the surface properly before application
- Pressing too hard while smoothing, which can damage the decal
- Removing the decal before it’s fully cured
- Applying heat unevenly, creating weak spots
Explore JuliDecals Premium Collection
Ready to try heat application with quality vinyl decals? Visit our shop to browse our extensive collection of designs. Whether you’re looking for sophisticated options like our White & Gold Marble Laptop Skin or adventure-themed decals like our Jet Ski Vinyl Decal, we have something for everyone.
Final Thoughts
Mastering heat application transforms your vinyl decal projects from good to exceptional. With practice and attention to temperature control, you’ll achieve professional-looking results that last for years. Remember that patience and proper technique matter more than speed—take your time, follow these guidelines, and you’ll create stunning, durable decorative pieces every time.
Featured Products
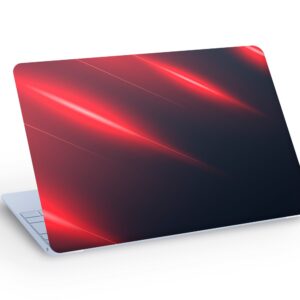
ABSTRACT Glow Light Effect LAPTOP SKIN Decal Sticker, Red Mo…
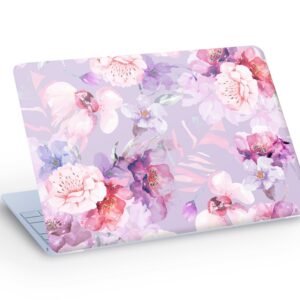
ROSES LAPTOP SKIN Decal Sticker, Roses Flowers Plants Laptop…
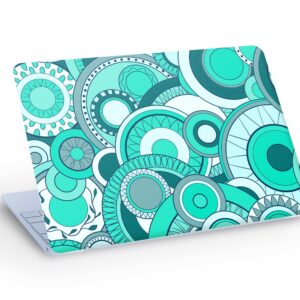
Тurquoise Circle Shapes LAPTOP SKIN Decal Sticker, Тurquoise…