
Introduction to Vinyl Decal Cutting
Vinyl decal cutting is both an art and a science. Whether you’re personalizing a laptop, truck, or creating designs for friends, mastering the cutting process transforms your creative vision into reality. In this comprehensive tutorial, we’ll walk you through everything you need to know about designing and cutting vinyl decals like a professional.
Understanding Your Cutting Equipment
Before you start cutting, familiarize yourself with your cutting machine. Most popular devices like Cricut and Silhouette require:
- Proper calibration for accurate cuts
- Clean cutting blades for smooth edges
- Compatible vinyl materials
- Design software knowledge
Investing in quality equipment ensures consistent results and longevity. Clean your blade regularly and replace it when you notice ragged edges or incomplete cuts.
Designing Your Vinyl Decal
Choosing the Right Design Format
Start with design files in SVG, PDF, or EPS format—these vector formats ensure your designs scale without losing quality. Raster images (JPG, PNG) can pixelate when enlarged, so avoid them for decal work.
Simplifying Complex Designs
Intricate designs with fine details are challenging to cut and apply. Simplify your artwork by:
- Reducing the number of layers
- Merging similar colors
- Eliminating thin lines (less than 0.5mm)
- Testing designs at actual size before cutting
Complex designs work better when layered. Consider creating multi-color decals by cutting separate sheets and stacking them strategically.
Preparing Your Materials
High-quality vinyl is essential for professional results. Choose between:
- Permanent vinyl: Best for outdoor applications and long-term durability
- Removable vinyl: Ideal for temporary designs or practice
- Specialty vinyl: Glitter, metallic, or holographic options for unique effects
Always measure your material correctly and ensure it’s fed straight into your cutting machine. Crooked loading causes misalignment and wasted vinyl.
Cutting Techniques for Precision
Optimal Blade Depth Settings
This is crucial—too shallow and your design won’t fully cut; too deep and you’ll damage the backing. Test your blade depth on a small piece first:
- Start at the lowest setting recommended for your vinyl type
- Gradually increase until you achieve clean cuts
- The blade should kiss the backing without piercing it
Speed and Pressure Settings
Faster cuts don’t always mean better cuts. Slower speeds with appropriate pressure produce cleaner edges. Experiment with your machine’s settings to find the sweet spot for your specific vinyl type.
Weeding Your Decals
Weeding—removing excess vinyl—requires patience and the right tools. Use:
- A weeding pen or hook for detailed work
- Tweezers for tiny pieces
- Steady, gentle motions to avoid tearing your design
Work in good lighting and take breaks to avoid eye strain. Rushing this step often ruins otherwise perfect cuts.
Enhancing Your Decal Designs
Looking to elevate your projects? Consider combining multiple design techniques. For example, pair a LETS GO Compass vinyl decal design with custom cutting, or create layered effects inspired by professional designs. The Pirate Captain Compass design demonstrates how multiple cutting layers create dimensional artwork.
Common Cutting Mistakes to Avoid
Learning from others’ mistakes accelerates your mastery:
- Not testing first: Always do a test cut on spare vinyl
- Ignoring blade maintenance: Dull blades are your biggest enemy
- Overcomplicated designs: Simple, bold designs cut and apply better
- Improper material storage: Keep vinyl flat and dust-free
Applying Your Custom Decals
Perfect cutting is only half the battle. Proper application ensures your decals last. Use transfer tape for complex designs, apply smoothly without air bubbles, and give adhesive time to set. For laptop applications, consider professional laptop skin decals that combine cutting precision with durability.
Pro Tips for Advanced Cutting
As you develop your skills:
- Create a design library of successful cuts for future reference
- Experiment with color combinations and layering techniques
- Join online communities to share designs and troubleshoot challenges
- Keep detailed notes on blade settings for different vinyl types
Explore our complete vinyl decal and sticker collection for inspiration on design complexity and color combinations.
Troubleshooting Common Issues
If your cuts aren’t perfect:
- Incomplete cuts: Increase blade depth gradually and clean the blade
- Ragged edges: Replace your blade or reduce cutting speed
- Misalignment: Recalibrate your machine and ensure proper material loading
- Design distortion: Check that your vector file has no hidden objects or corrupted paths
Conclusion
Mastering vinyl decal cutting transforms your creative projects from amateur to professional-quality. Focus on precision, invest in maintenance, and practice regularly. Start simple, master the fundamentals, and gradually tackle more complex designs. With patience and these techniques, you’ll create stunning custom decals that impress everyone. For inspiration and ready-made designs like the Hipster Compass vinyl decal, explore our shop today!
Featured Products
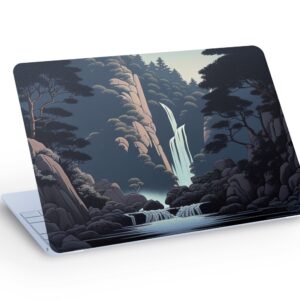
Beutifull WATERFALL LAPTOP SKIN Decal Sticker, Forest Waterf…
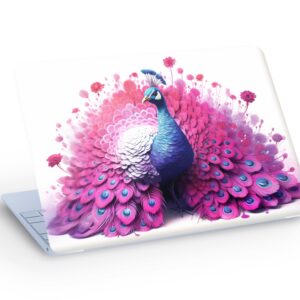
Pink PEACOCK LAPTOP SKIN Decal Sticker, Beautiful Pink Peaco…
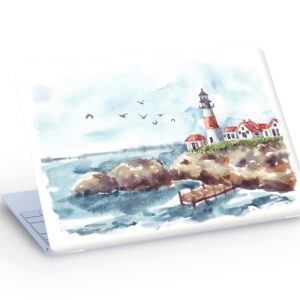
LIGHTHOUSE Painting LAPTOP SKIN Decal Sticker, Lighthouse La…